


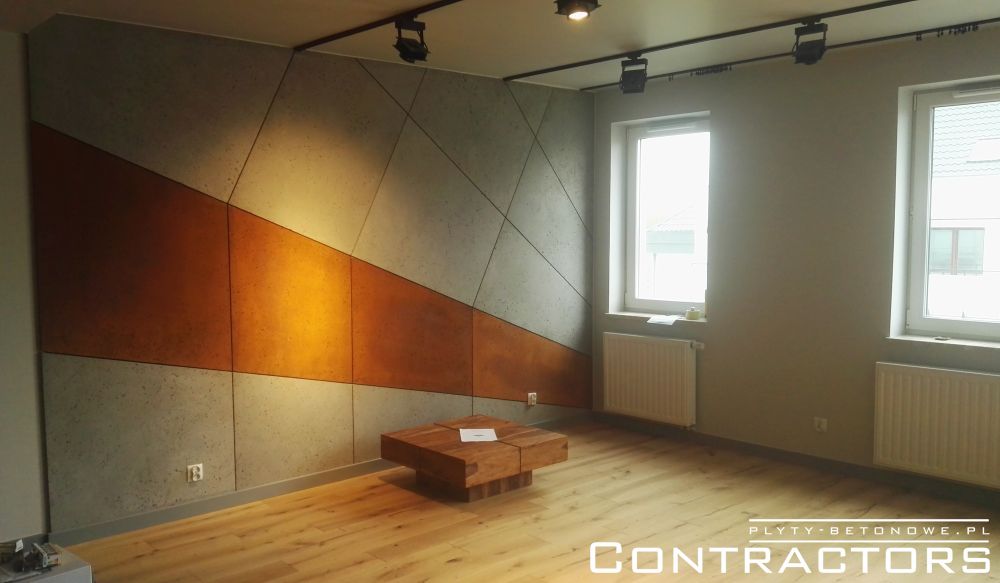
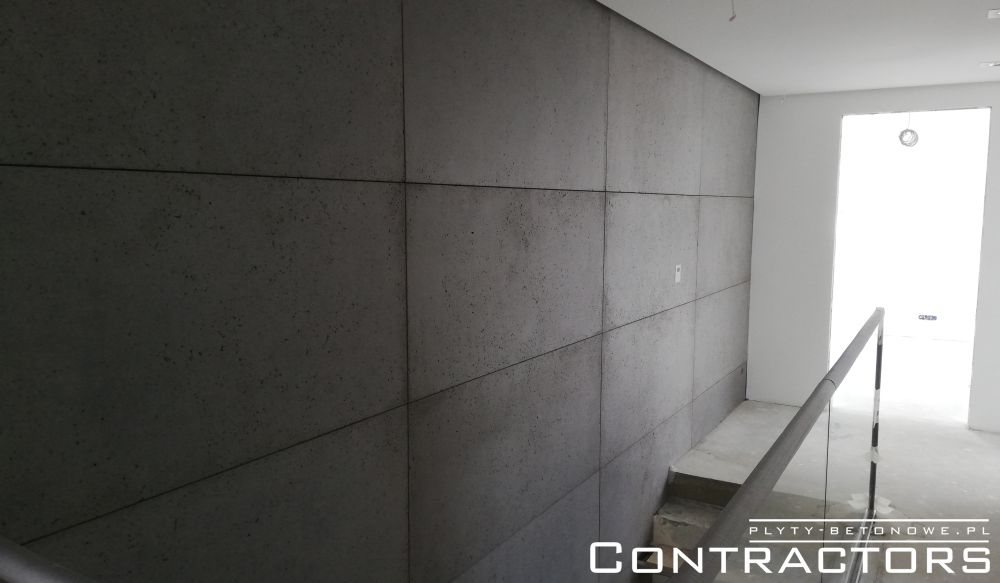
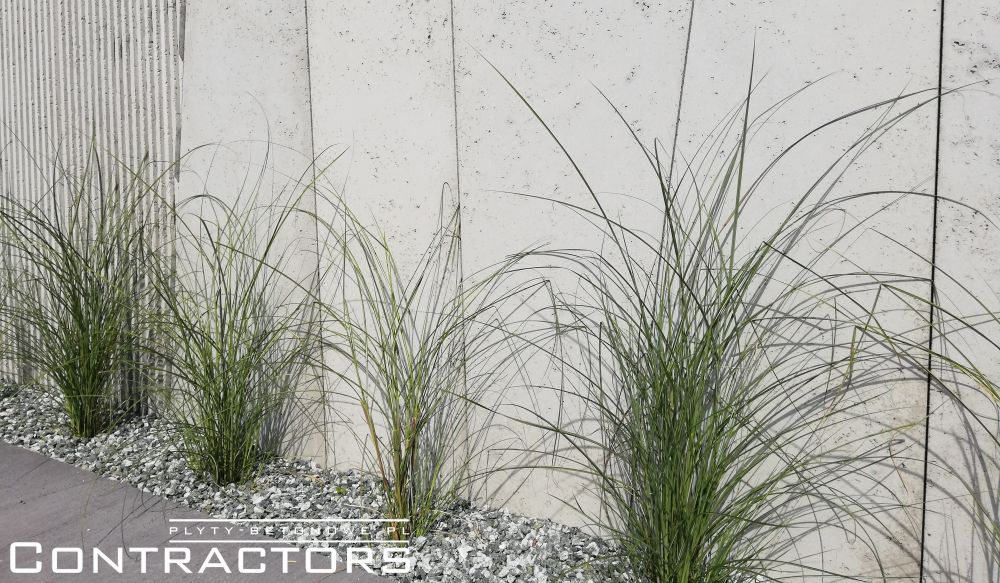
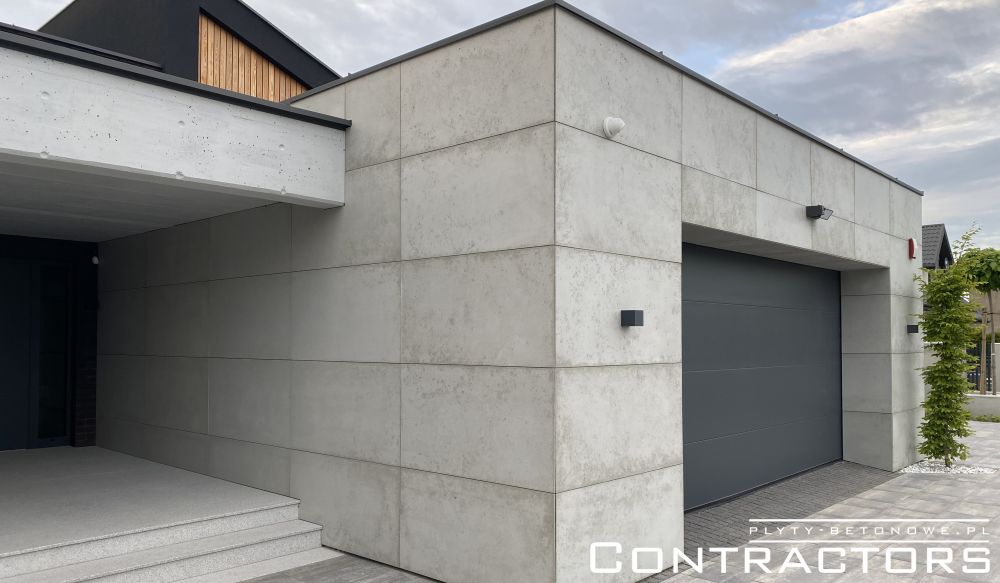
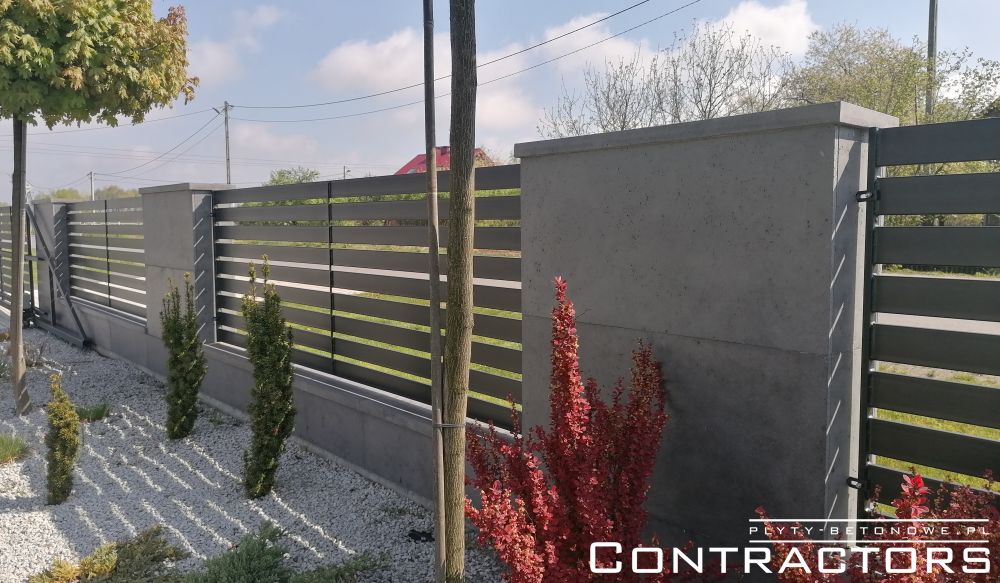
Installation of concrete panels - easy and efficient
What should the correct and optimal method of installation of concrete panels be like?
You could say: as many manufacturers, as many assembly methods. Why? What to pay attention to, what is important and what is unnecessary?
In case of our installation method, the mechanical anchoring system, it does not matter whether the wall is already plastered or raw. It doesn't matter if there is an old wallpaper or tile glue on it, etc. We simply proceed to assemble with:
- a spirit level
- a diamond blade for dry cutting of concrete – if it is necessary to cut the panels
- spacers to obtain an even gap between the panels
- wedges
Mounting elements needed:
- bolts (pins),
- eos titanium adhesive for leveling and filling the void between the panels and the wall,
- chemical anchors in case of concealed installation
That's it? YES, THAT’S IT
The first and the most popular installation system is the concealed anchoring system which uses chemical anchors.
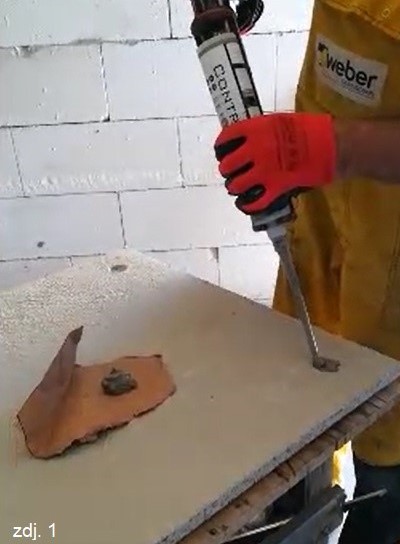
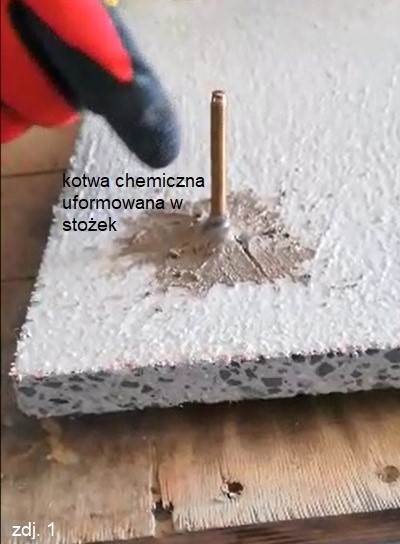
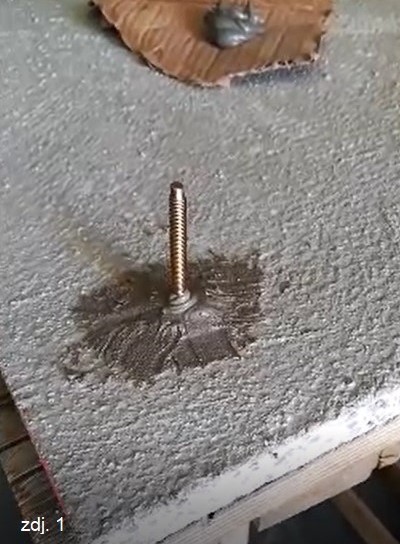
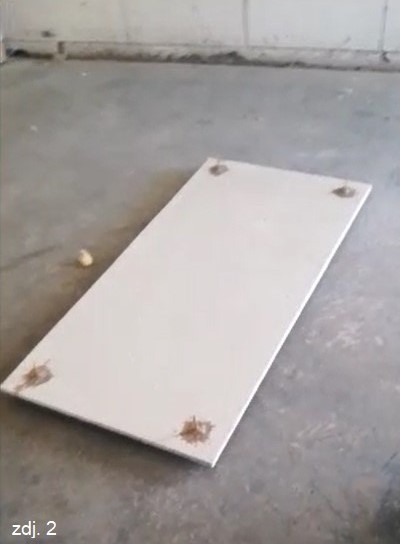
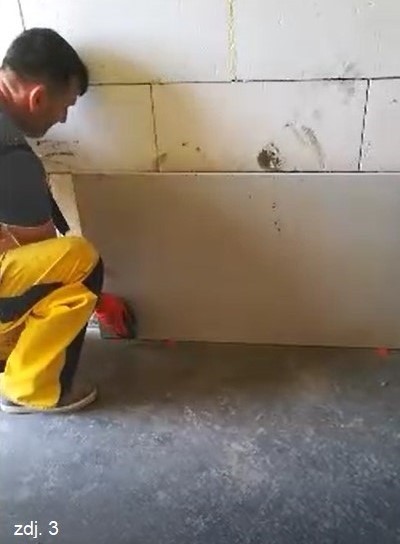
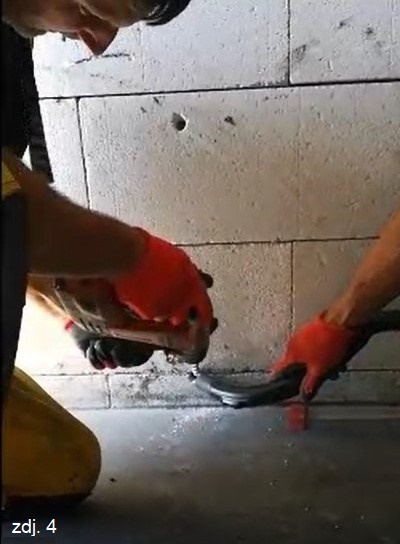
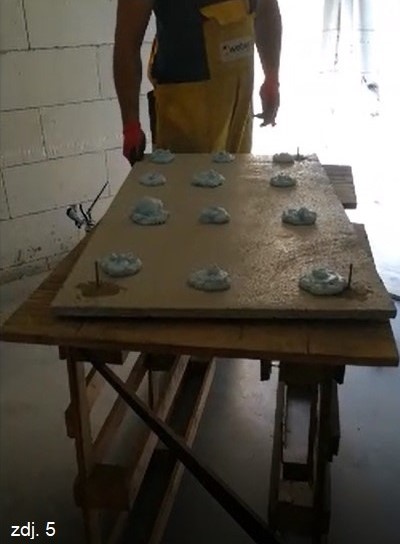
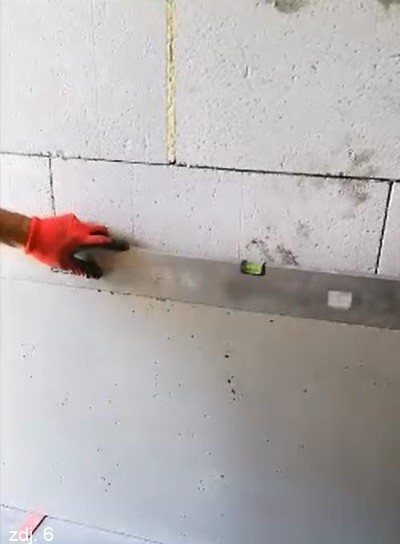
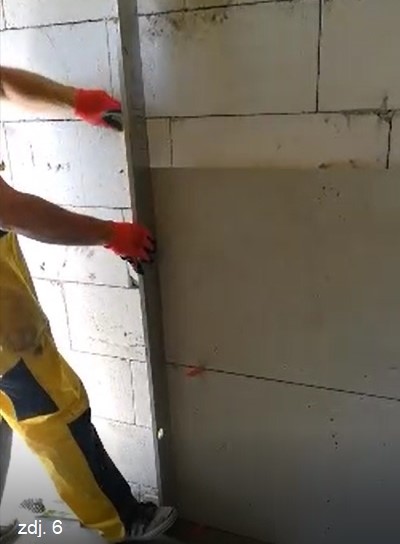
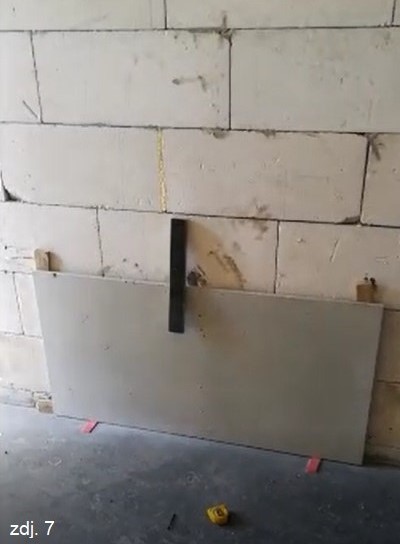
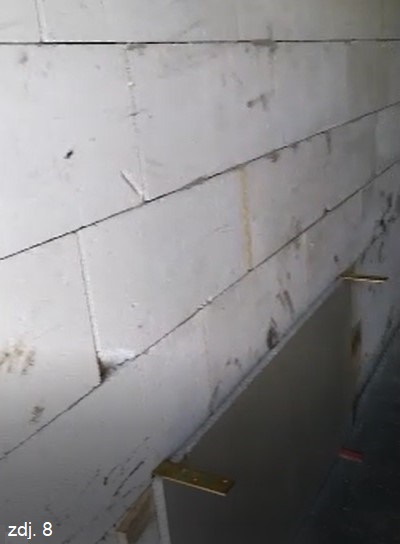
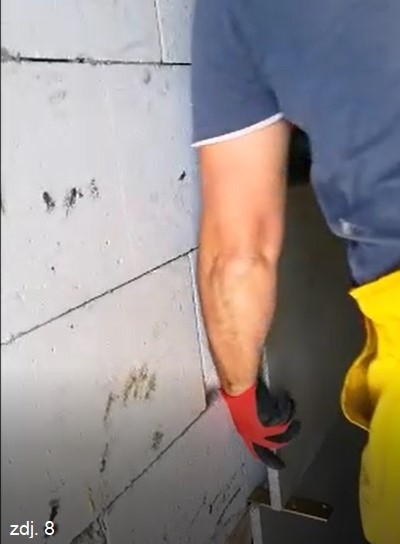
On the back of the concrete panels there are holes prepared by the manufacturer, into which the installer glues bolts (pins) on the chemical anchors.1 Four bolts (pins) for each panel.2 The spacing of the pins should be reflected on the wall - you can mark the pins positions with acrylic or lightly tap the spot where the bolt should be inserted when the panel is pushed against the wall.3 Drill holes in the corresponding spots - any dust must be removed and blown out from the boreholes.4 Check if the positioning of the holes is correct by pushing the pins into the holes without adhesive and positioning the panel horizontally. If the panel cannot be set in the required position, it will be necessary to redrill the existing holes. Remove the concrete panel and cover its back with adhesive in regular spots5, then insert the chemical anchor into the holes in the wall and insert the panel pins into the holes6. Check the level, wedge and hold the panel until the anchor7 hardens (the average curing time lasts from a few dozen seconds to approx. a minute). Care should be taken not to press the mounting foam against the wall, because it will not swell and will not fulfill its role - preferably when inserting the panel, place wooden wedges from the back – the optimal distance between the front of the panel and the wall is 27 – 30mm. DONE
Advice tips;
- the panels should be mounted with horizontal belts
- when checking the positioning of a panel, metal set squares can be used (set on the panel below), set squares will help you remove the panel afterwards 8
- use a carbide-tipped drill bit and do not use impact drills
- when drilling holes for electrical access points, use a hole saw for concrete, e.g. by dedra

CONTRACTORS Borowy Wojciech
Bialka 202, 34-220 Maków Podhalanski
NIP: 552-143-96-81, REGON 121126279